"How do you write a Canadian address?" It is a question that many shippers ask. You don't have to worry if you feel like wrangling when writing a Canadian address!
This guide is your key to mastering Canadian address formatting! Let us transform you from a stampeding rooking to a smooth-sailing mail maestro.
To write an address on an envelope:
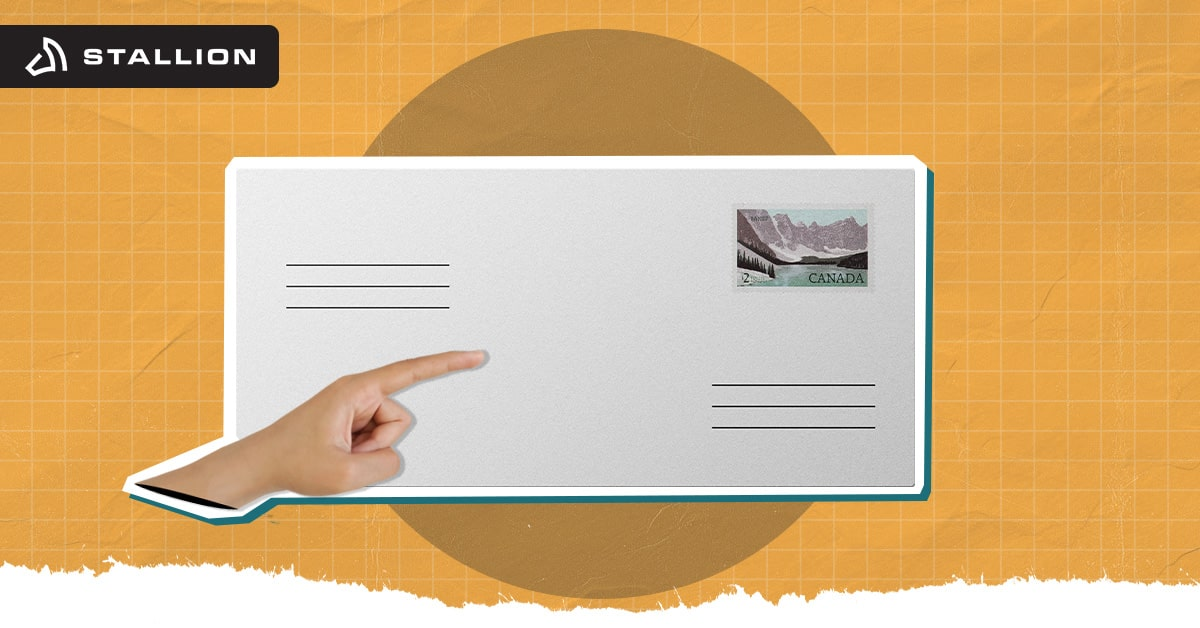
Using dark ink and block letters, ensure the address is clear and legible. Place the sender’s address in the top left corner.
Writing Canadian addresses on personal envelopes is a breeze! Here's how to do it like a pro:
Place the recipient's name on the first line when addressing an envelope. Ensure the name is at the centre with the same space at the top and bottom for a balanced look. Write the name in uppercase letters because this enhances readability.
Before the name, you can also include applicable honorific titles (such as Mr., Mrs., or Dr., among others). Additionally, you must write the recipient's full name as you know it.
Example:
The following line's apartment number and street address are vital to the Canada address format. After writing the recipient's name on the first line, move to the next one. If you're including an apartment number, write it first, followed by a hyphen to separate it from the street number.
Next, add the street number, followed by the complete street name. After the street name, include directional suffixes, such as NW for Northwest.
Example:
DR. JANE DOE, MD (Optional - Recipient Name)
305-123 MAIN ST NW (Apartment Number-Street Number-Street Name-Directional)
Each region in Canada has its own postal code. Determining the Canadian postcodes is essential to ensure the mail goes to the right person. If you're corresponding with someone, the easiest way to do so is to ask them for their complete mailing address. If you know the recipient's city and province, you can search online to find the specific code using this format:
"[city name], [province abbreviation]," and "postal code"
Canada Post offers a postal code lookup tool. In this tool, you can enter an address or partial information to find the correct code.
The postal address goes on the 3rd line of the envelope, next to the recipient's name and street address. Start with the city name, followed by a space and the province abbreviation in uppercase letters. Leave two spaces between the province abbreviation and the postal code.
Remember to write them in uppercase letters with a space separating the first three characters from the last three.
Example:
JANE DOE (Optional - Recipient Name)
305-123 MAIN ST NW (Apartment Number-Street Number-Street Name-Directional)
OTTAWA ON K1A 0B1 (City-Province-Space-Space-Postal Code)
You can skip the "CANADA" line entirely for domestic mail within Canada. However, if you include "CANADA" on the last line, write it in uppercase letters for consistency with the rest of the address.
The return address follows the same Canadian address format as the recipient's. The only difference is where you place them. The return address is in the top left corner of the envelope, separate from the recipient address on the front. Write your full name in uppercase letters on the first line.
On the second line, write your street address. Remember to include the apartment number (if any) with a hyphen. The street number, street name, and optional directional suffix follow this. The third line includes your city name, followed by a space, then the province abbreviation, and two spaces before the postal code, all in uppercase.
There are two ways to include an address in a business envelope: 1) to a specific person and 2) to the company itself:
The Canada address format requires this specific template for readability:
1. Recipient's Name
Center the recipient's name on the first line of the envelope. Include titles like Mr., Ms., or Dr. if you know them.
2. Company Name
On the second line, write the company name if it's relevant to help with internal mail sorting.
3. Street Address
The third line is for the complete address, including the apartment number (with a hyphen) and any directional suffixes (NW, SE, etc.). The address lines can be more than one, depending on the length of the mailing addresses.
4. City, Province or Territory, Postal Codes
The fourth line should have the city name, followed by a space, then the province abbreviation (ON, BC, etc.), and two spaces before the postal code. Add the correct postal code to avoid delays and issues along the delivery.
Example:
JOHN SMITH
ACME CORPORATION
123 MAIN ST NW APT 404
OTTAWA ON K1A 0B1
1. Company Name
Center the complete company name on the first line of the envelope.
2. Civic Address
The second line is for the complete address, including the apartment number (with a hyphen) and any directional suffixes (NW, SE, etc.).
3. City, Province or Territory, Postal Codes
The third line should have the city name, followed by a space, then the province abbreviation (ON, BC, etc.), and two spaces before the postal code.
Correct Address Formats: Use the addressing rule shown in the following visual examples below. Write the STREET ADDRESS in uppercase letters. Use uppercase letters when writing POSTAL CODES. Don't forget to separate the first three (3) characters from the last three (3) with one (1) space.
When sending a standard envelope, always remember to write the sender's full name and address, the recipient's full name and address, and any postage. Typically, the sender's name and address appear in the top left corner of the envelope. Meanwhile, the recipient's name and address should go in the lower center.


Here are the addressing guidelines when following the correct standard format from Canada Post:

a. Write the title, floor, and other relevant delivery information above the civic address.
b. Place a hyphen between the civic number and the unit number.
c. If there is a civic number suffix (e.g., 123A), use one space; otherwise, do not use a space.
d. Put two spaces between the provincial symbol and the postal addresses.

a. Indicate the city's complete name.
b. Separate the state symbol from the city by 1 space.
c. Separate the zip code from the state symbol by 2 spaces.
d. Instead of using the entire state name, use the two-character state symbol.
e. A zip code is either 5 or 9 digits long. If it's 9 digits long, a hyphen separates the 5th and 6th digits.

a. Be sure to correctly write the country name so the post office's equipment can read it.
b. Verify that the country's name appears alone and is the last entry in the address block, below the postal code or zip code and the city name. Write the country's name in capital letters and its whole (e.g., write UNITED KINGDOM and not the UK).
Here's what might happen if you don't follow the correct standard format when writing a Canadian address:
The most common consequence is a delay in delivery. Post office sorting machines rely heavily on the standardized format to read and sort mail efficiently. Changes in the format can slow down the sorting process and extend the delivery time.
Meanwhile, let us say that the address contains errors or doesn't follow the format. Postal workers must manually sort it, which can further delay delivery.
In worst-case scenarios, the mail might be undeliverable if the address has significant errors or missing details. This situation could lead to the mail being returned to the sender or even discarded.
In some cases, Canada Post might charge surcharges for incorrectly formatted mail. This is because it requires additional handling and potential correction efforts.
Here's how to avoid common mistakes when writing a Canadian address:
Remember the standard structure. Be sure you have an accurate address, including apartment numbers, directional suffixes, and the correct province abbreviation. These details are often forgotten.
Write the entire address in uppercase letters for optimal readability by sorting machines. This helps avoid misinterpretations.
Generally, avoid punctuation marks. Periods are only acceptable in abbreviations or for proper names (like St. John's).
Don't use "#" for apartment numbers. Instead, write them out as "NUMBER" or include a hyphen (e.g., 305-123A).
Only include "CANADA" on the last line for mail going to other countries. Skip it for domestic mail within Canada.
With Stallion's advanced systems, you don't have to worry about not being able to follow the correct format! You only need to fill out the forms correctly and let Stallion do its job. As long as you input the correct details, you can ensure the packages arrive at their destination securely and on schedule.
Stallion offers competitive shipping rates. This perk translates to significant business cost savings, allowing you to provide competitive pricing to your customers.
You can easily see the rates on their website with the help of a shipping calculator. It provides upfront costs based on weight, dimensions, and destination. Stallion has no hidden fees or surprise charges, making budgeting for shipping costs easier.
Seamless Shipping Process:
Once Stallion has the packages, you can wait for them to arrive at their destination. We will complete the rest of the process, including the customs clearance for cross-border and international shipping.
Conquer the Canadian mail maze with Stallion's guide! Taming those pesky address lines is a breeze with our clear instructions. From uppercasing the characters to including the postal code, you'll quickly ship parcels and letters. So, saddle up, grab your envelope, and let Stallion help your mail gallop straight to its destination.
Aman looks after the content marketing department at Stallion Express. He is passionate about helping businesses grow by providing informative and up-to-date trends in the eCommerce industry. Outside the office, you can find him on the soccer field cheering on Real Madrid.


Can our fellow Torontonians relate?
-
#smallbusiness #business #entrepreneur #socialmedia #shipping #ecommerce #canadianecommerce #shopify #poshmark #b2b #saas #etsy #ebay #canada #canadiansmallbusiness #shoplocalcanada #entrepreneur
#toronto

Here’s your quick hassle free shipping from 🇨🇦 to 🇺🇸 as a business owner!
-
Any questions?! Leave them 👇🏻 and save this video so you don’t forget!
-
#smallbusiness #business #entrepreneur #socialmedia #shipping #ecommerce #canadianecommerce #shopify #poshmark #b2b #saas #etsy #ebay #canada #canadiansmallbusiness #shoplocalcanada #entrepreneur

Meet @drinkbenny a 🇨🇦 female founded energy drink brand! Instead of focusing on their products, they’re taking a unique approach by hosting in person events in different Canadian cities to offer an experience for their community 🧡
-
What are your thoughts on in person events? 💭
-
#smallbusiness #business #entrepreneur #socialmedia #shipping #ecommerce #canadianecommerce #shopify #poshmark #b2b #saas #etsy #ebay #canada #canadiansmallbusiness #shoplocalcanada #entrepreneur

Do you know the difference between DDU and DDP when shipping internationally 🌏 ?
-
Questions? Leave them below! 👇🏻
-
#smallbusiness #business #entrepreneur #socialmedia #shipping #ecommerce #canadianecommerce #shopify #poshmark #b2b #saas #etsy #ebay #canada #canadiansmallbusiness #shoplocalcanada #entrepreneur

Here’s a quick hack to save time from choosing multiple postage options
↪️ Turn on the lowest postage rate automation to save you time!
-
Questions? Leave them below! 👇🏻
-
#smallbusiness #business #entrepreneur #socialmedia #shipping #ecommerce #canadianecommerce #shopify #poshmark #b2b #saas #etsy #ebay #canada #canadiansmallbusiness #shoplocalcanada #entrepreneur
